Part Organization
When designing printed circuit boards, it is necessary to build prototypes for testing. The process must be as efficient as possible so that we can iterate faster.
For complex PCBs, you are probably best off having your production PCB assembly company assemble them.
For smaller PCBs, it may make sense to have a company like Macrofab, SEEED, JLCPCB, PCBWay or one of the many other companies assemble them.
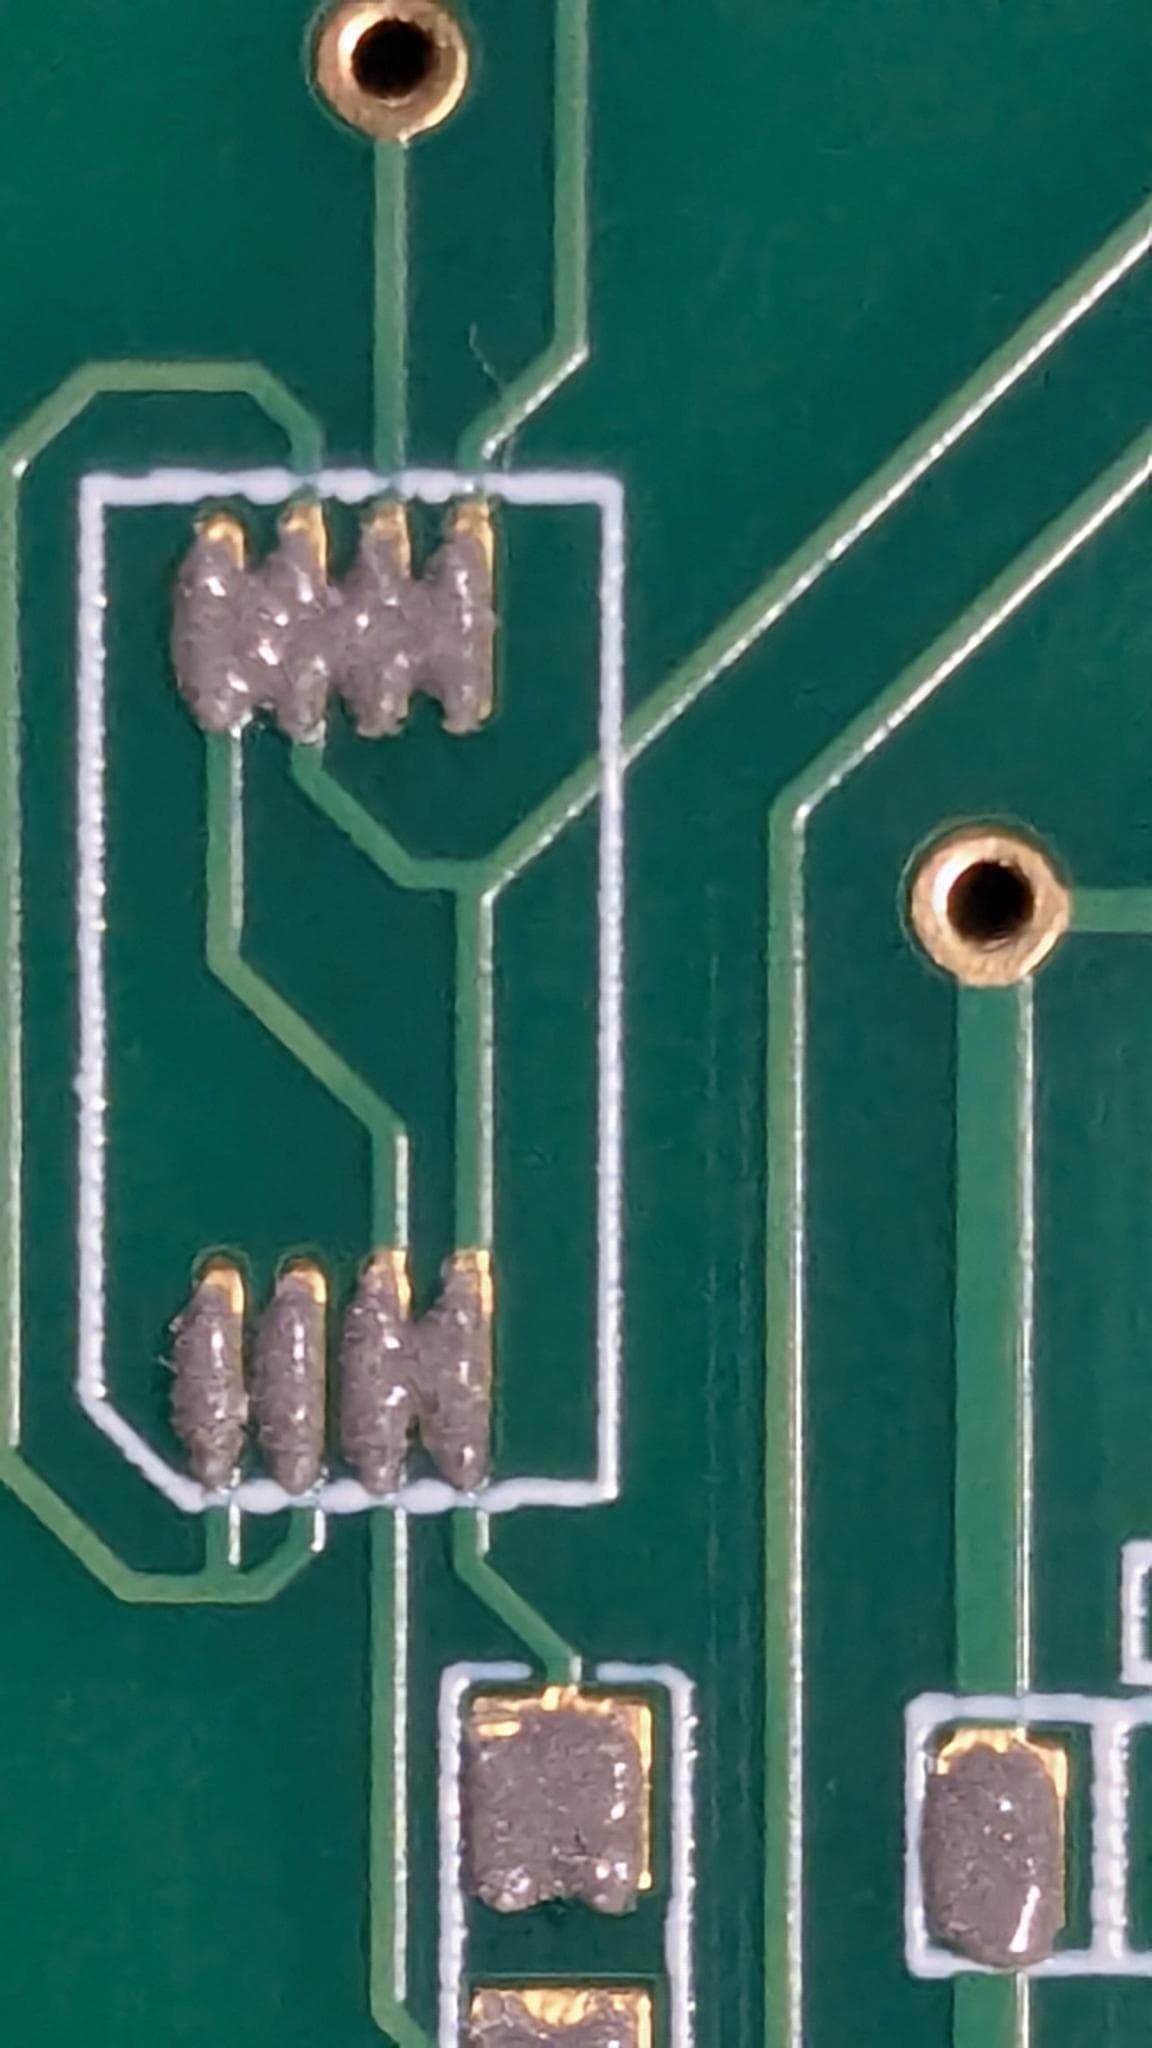
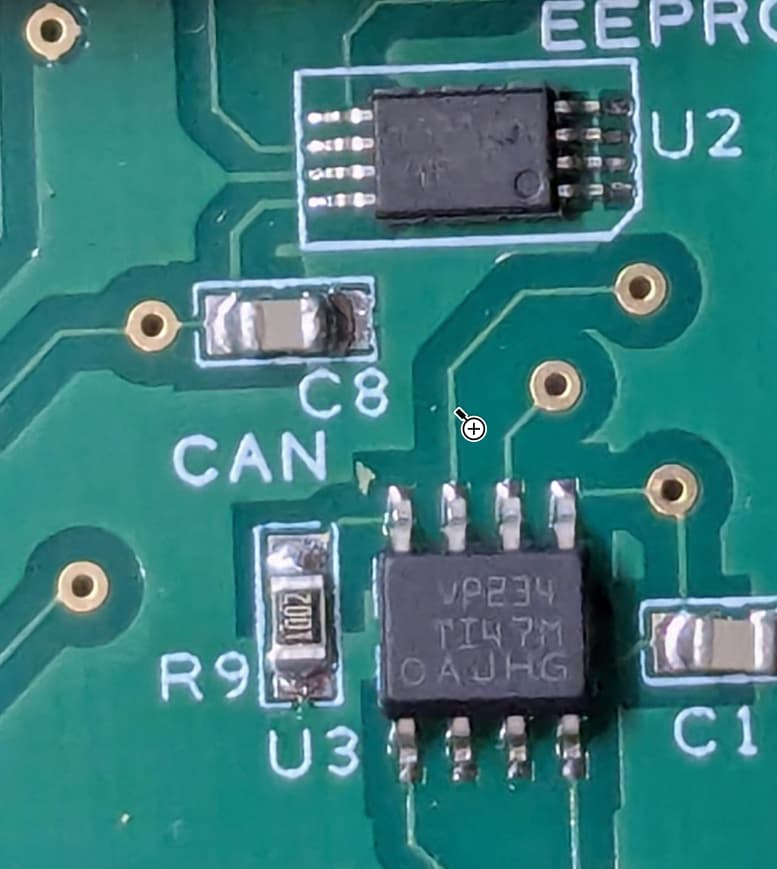
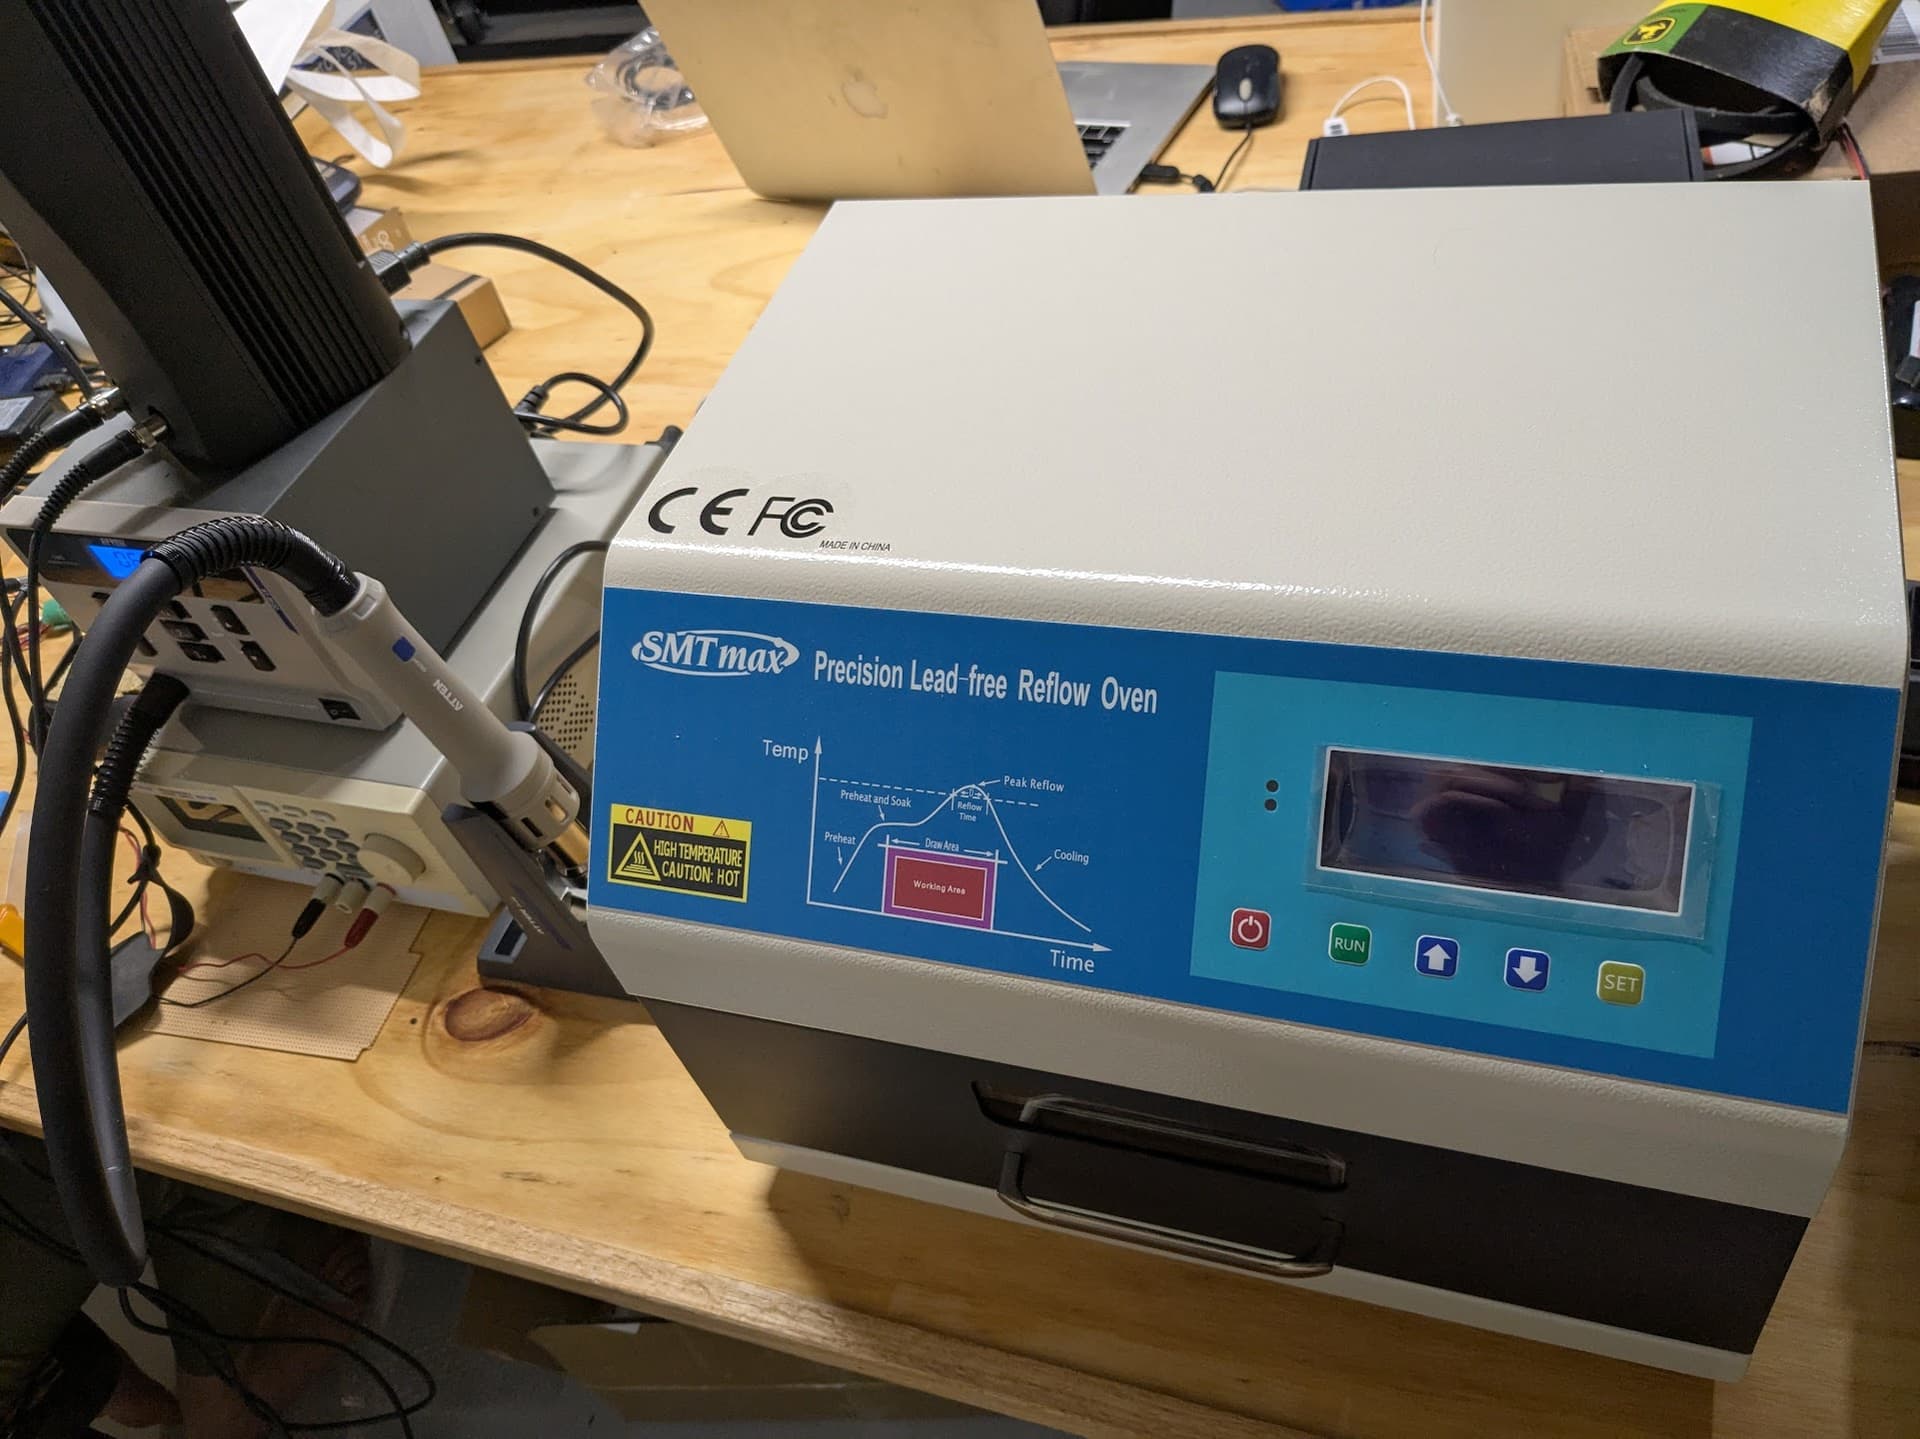
It is also possible to assemble smaller PCBs yourself, and that is the topic of this thread.
We have recently been building prototypes for several PCBs for a customer. PCBs are cheap and easy to order. Parts are easy to order from Digi-key or Mouser by uploading the BOM. What is not simple is organizing 100 different parts in the lab so that you can easily organize and find them over time.
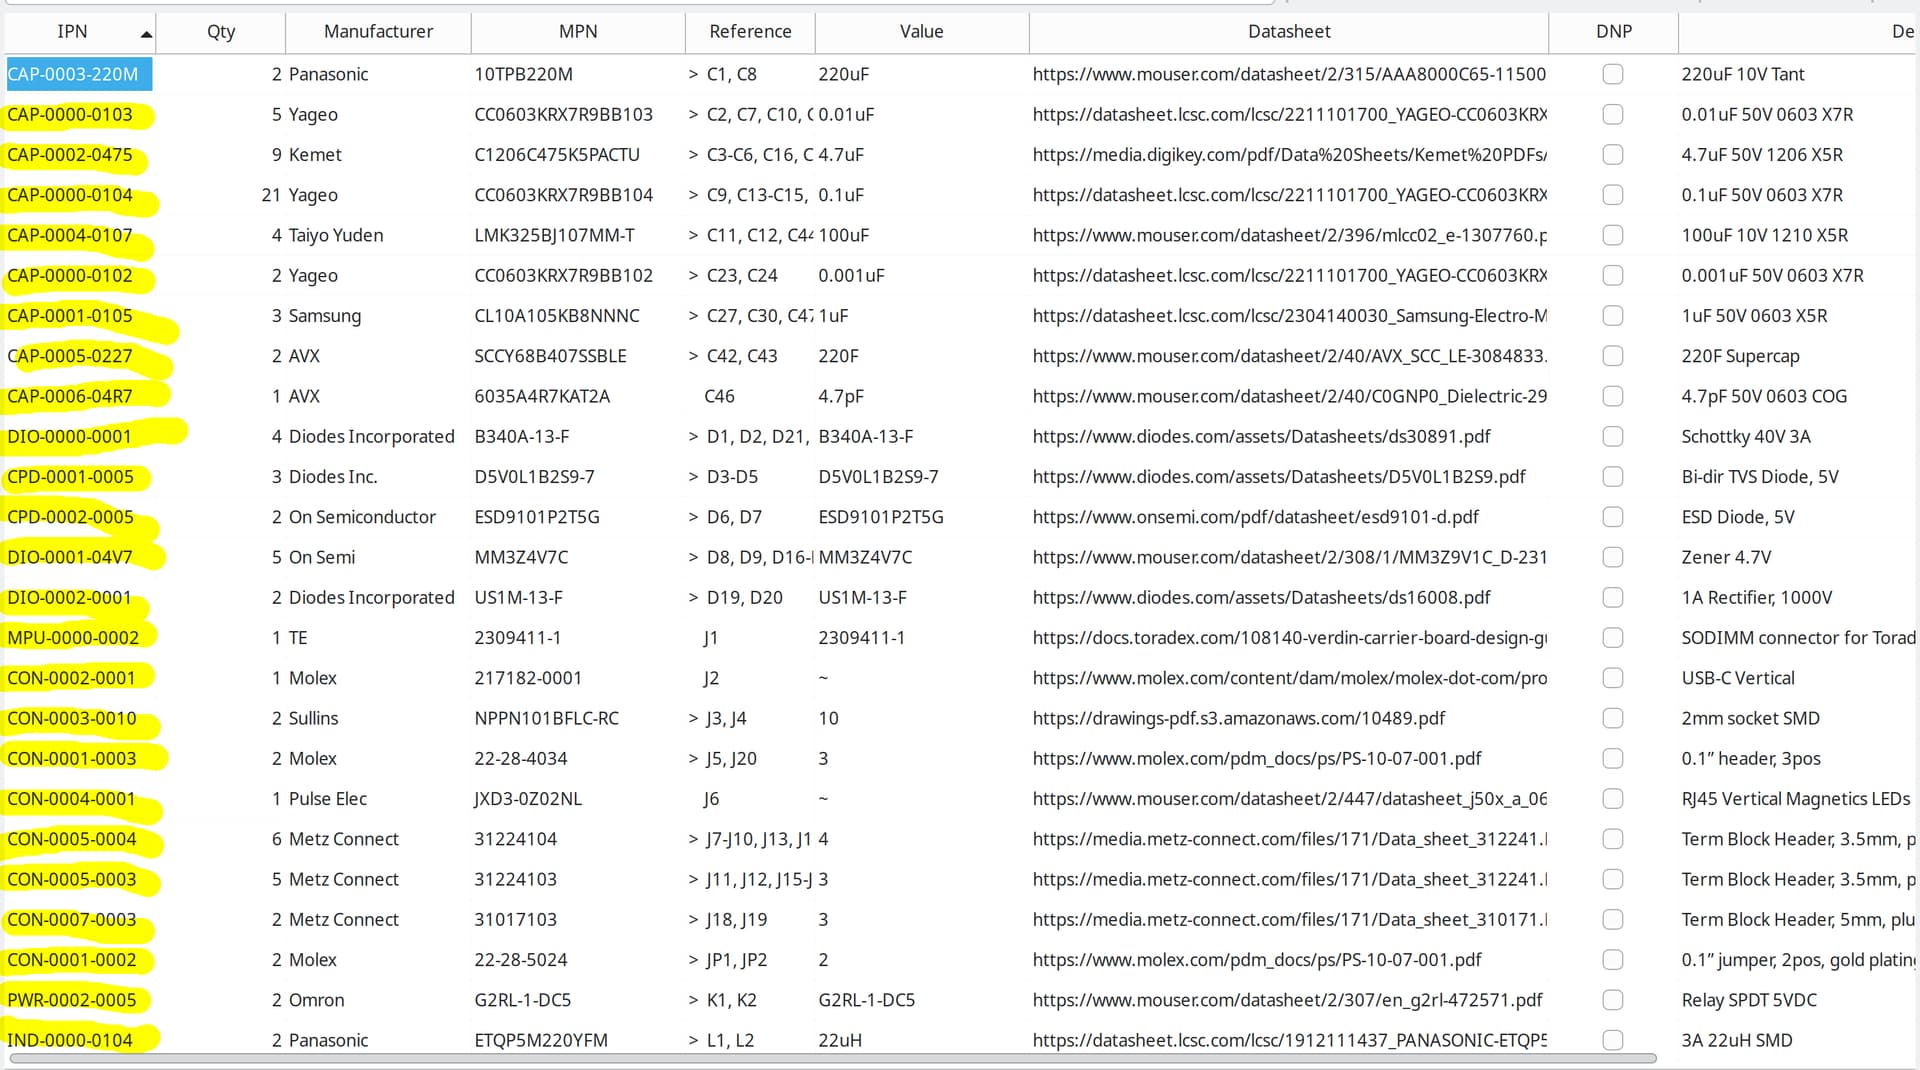
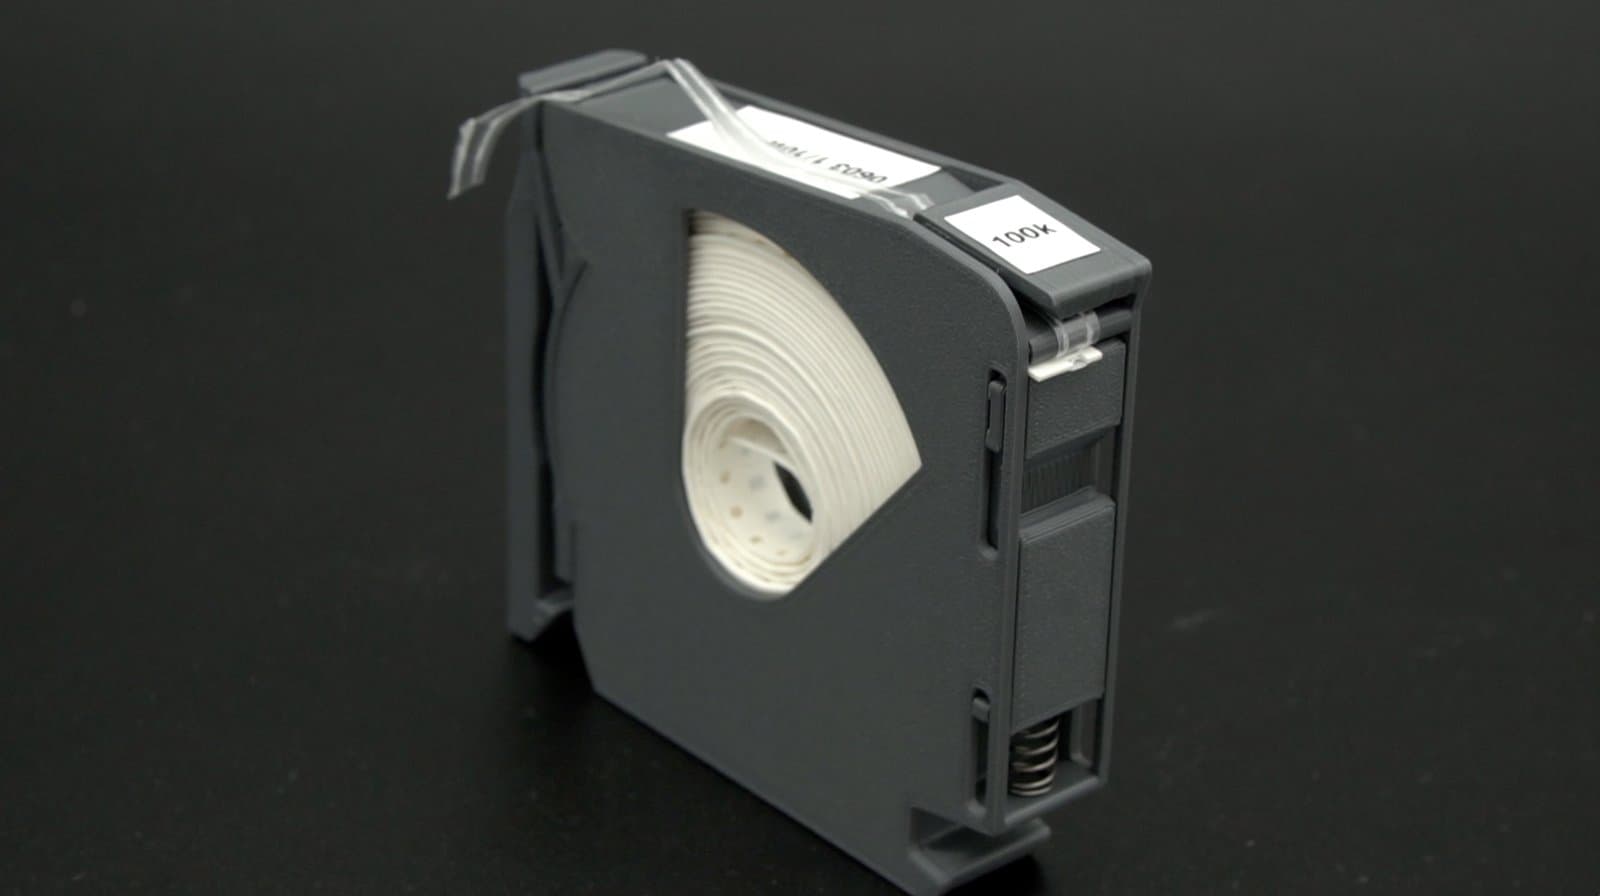
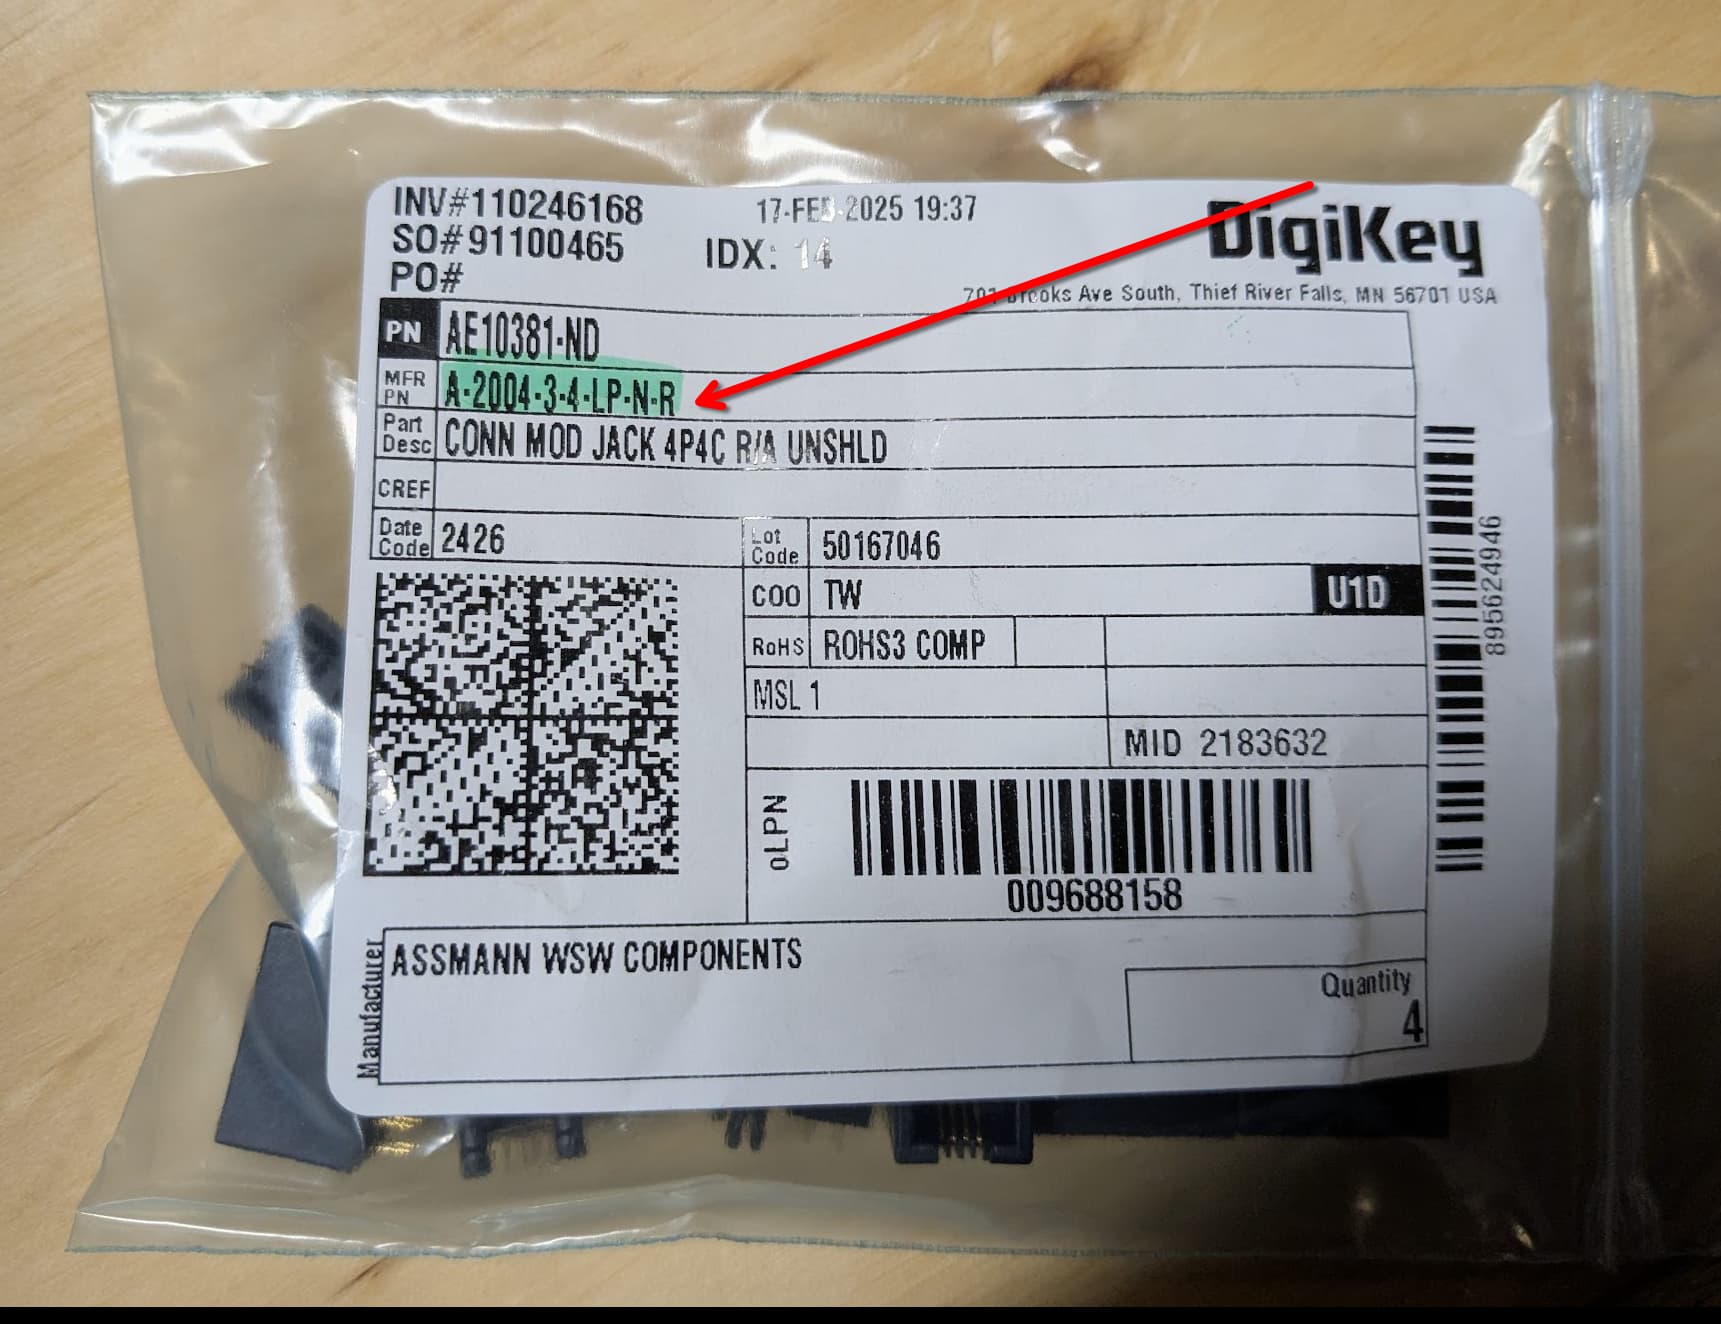
Ideally everyone would use the GitPLM semi-structured part number format. But, lacking that, we are currently organizing parts using the manufacturer part number (MPN).
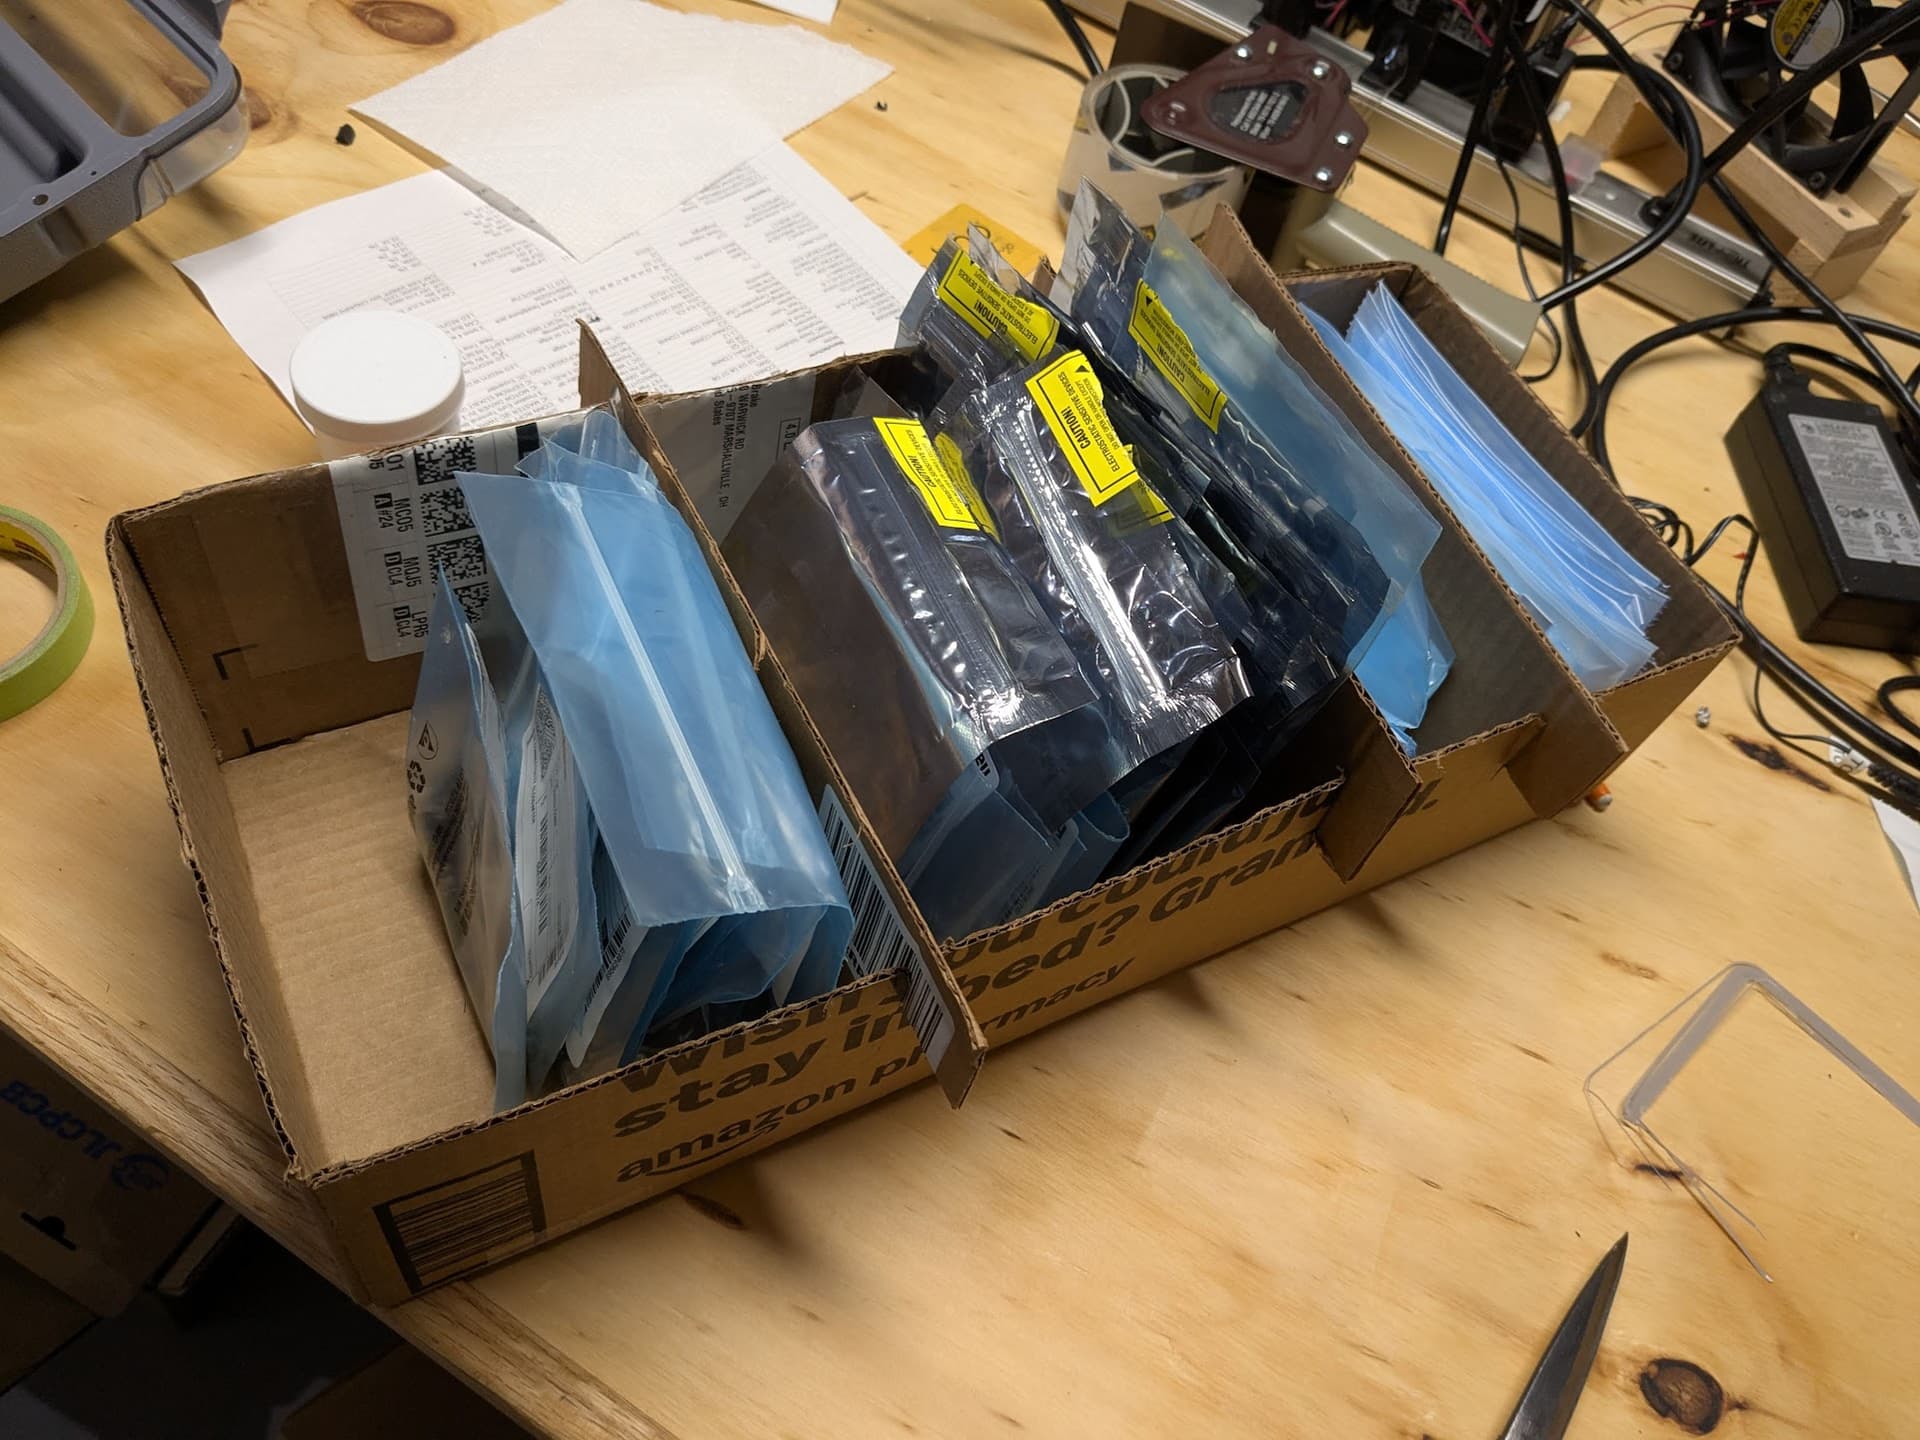
We group the parts in 4 groups:
- Misc parts with MPN starting with a digit
- Misc parts with MPN starting with alphabetic character
- Capacitors
- Resistors
Parts in each group are sorted numerically/alphabetically by MPN.
We then organize the BOM into these 4 groups as well.
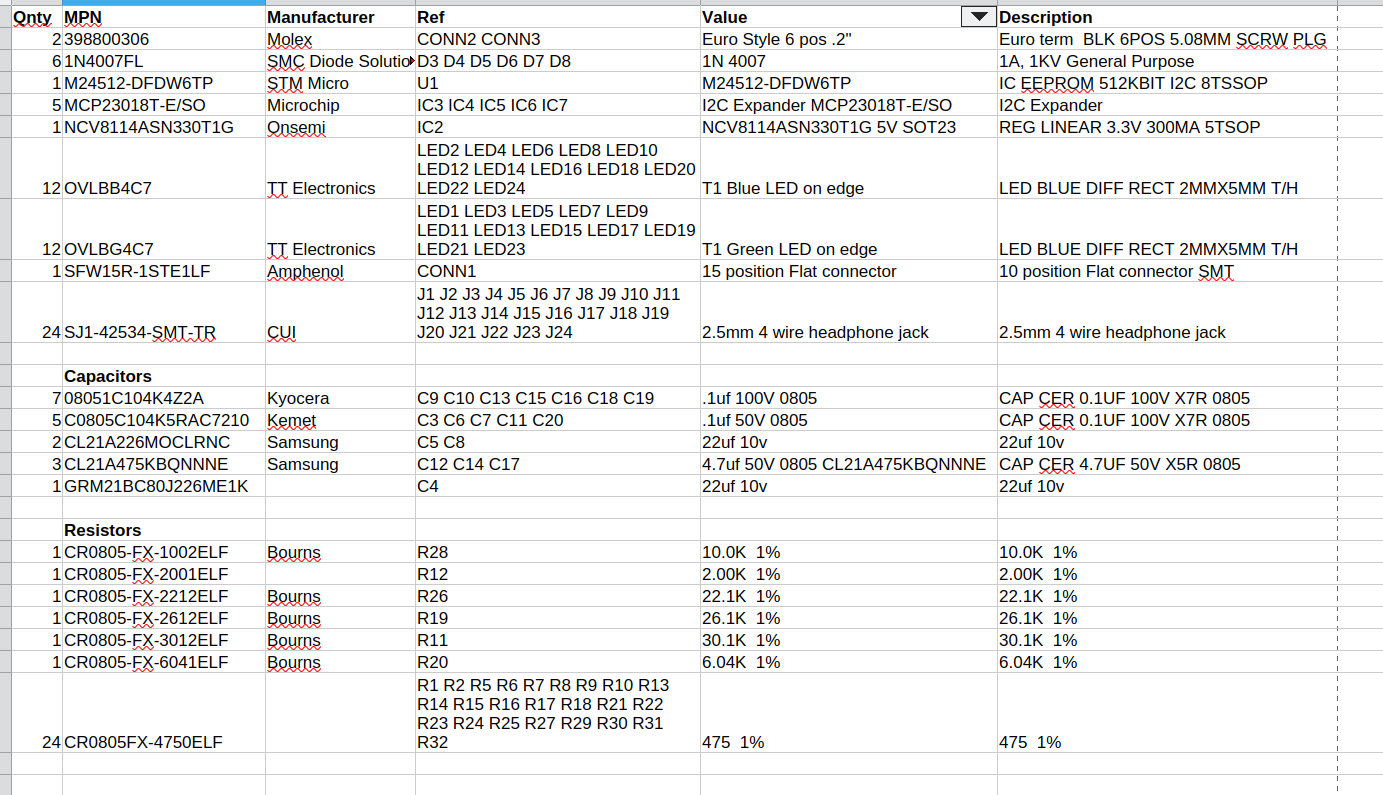
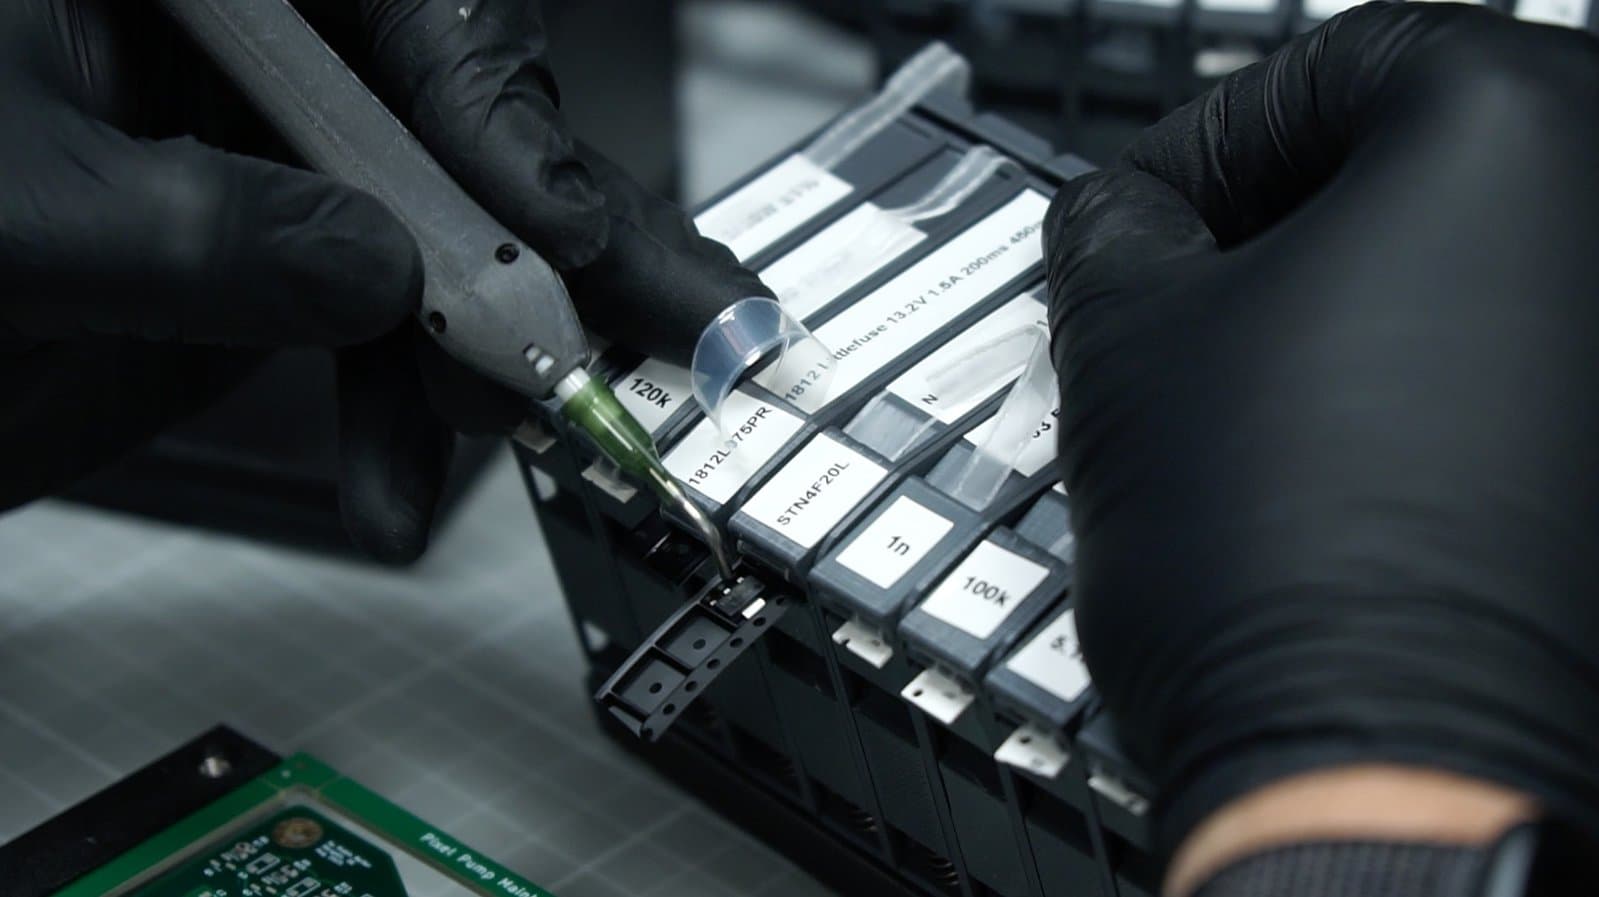
Highlighting the MPN on the bag also makes it quicker to find/compare the number.
Then it is an easy matter to go down through the BOM and parts box sequentially to assemble the board.
Long term, I would like to be able to assign GitPLM IPNs to every part in the lab and track inventory in GitPLM or ODOO MRP.
It will be much easier to find and compare part numbers if the BOM and part bag have GitPLM IPNs as shown below: